CSC/ECE 517 Fall 2013/ch1 1w28 nm
This article explains the steps to install and configure Rails on Windows, Linux and Mac OSX. Since Linux and Mac OSX are UNIX based Operating Systems, their installation process is similar. In case of Windows, there are two methods to install ruby on rails i.e Using the command line or using the one-click installer. We have also included links to common problems faced during installation.
Configuring rails environment for Linux and Mac OS X.
Since both Mac OSX<ref name='mac'>Mac Installation</ref> and Linux<ref name='linux'>Linux Installation</ref> are UNIX based systems, the process of configuring rails in Linux and Mac OSX is very similar .
Steps for configuring Rails:
Install XCode or XCode command line tool.
For Mac OS X, the first thing we need to do is to install XCode which are the Apple Developer Tools. XCode ships with Mac OS 10.6 i.e Snow Leopard. XCode can be installed from the Mac OS X install DVD or can be downloaded from https://developer.apple.com/xcode/.<ref name='xcode'>Xcode</ref> You can verify if the XCode has been installed correctly by going to the terminal and running the following command:
gcc -v
This command will check whether the required gcc compiler has been installed. You can also install the XCode command line tool<ref name='xcode tool'>Xcode command line tools</ref> instead of the entire XCode developer tool.
Download git
Git is an open source distributed version control system designed to handle everything, from small to large projects with speed and efficiency. Git allows you to have multiple branches that can be entirely independent of each other. The creation, merging and deletion of these development lines takes seconds. It allows you to switch between these branches with ease. If, at any time you feel that the branch is not required you can delete that branch and revert back to the previous branch. You can download git-1.8.3.2(tar.gz file) from http://git-scm.com/ <ref name='git'>Git</ref> Then execute the following commands from the terminal:-
$ tar zxf git-1.8.3.2.tar.gz -- This command will extract the .tar file.
$ cd git-1.8.3.2 -- This command will take the control into that directory.
[cd git-1.8.3.2]$ make && sudo make install -- This command will compile and install git
[cd git-1.8.3.2]$ git --version --This command will return the current version of git installed on the machine.
Ruby Version Manager
The next step is to install Ruby Version Manager(RVM)<ref name='rvm'>Ruby Version Manager</ref>. This is an optional step. All computers having Mac OS 10.6 and above have some version of ruby pre installed. Therefore it is good practice to install RVM to manage different version of Ruby of the same machine. This is particularly important if you want to run Rails3 and Rails2.3 on the same machine. You can download RVM from www.rvm.io. To install RVM, execute the following command in the terminal:-
Install RVM with a Ruby: \curl -L https://get.rvm.io | bash -s stable
For all in one installation append --rails or --ruby or --ruby=1.9.3
Install Ruby
After installing RVM, you can install Ruby by using the following commands
   $ rvm update --head
   $ rvm reload
These commands will update and reload RVM as it is updated frequently.
$ rvm install 1.8.7 --installs ruby 1.8.7
$ rvm install 1.9.2 -- installs ruby 1.9.2
Install RubyGems
If you want to use multiple versions of rails on the same machine,you need to create a separate gemset, which is a self contained bundles of gems, for each version.
   $ rvm--create1.8.7-p174@rails2
   $ rvm--createuse1.9.2@rails3
Here the first command creates the gemset rails2 associated with Ruby1.8.7-p174, while the second command creates the gemset rails3 associated with Ruby1.9.2 and uses it at the same time.
You can download RubyGems<ref name='rubygems'>RubyGems</ref> and install them using them using the following command:
$ sudo ruby setup.rb
If you already have RubyGems installed on your machine you can update it using the following command:-
$ sudo gem update --system
Install Rails
The last step is to install rails. This can be done as follows:-
$ gem install rails --version 3.2.13
It is possible to check whether rails is installed correctly or not using
$ rails -v
This command should return the installed version of rails and will return an error if rails has not been installed correctly.
Configuring rails environment for Windows
There are many ways in which one might want to set up a complete development environment for Ruby on Rails on a Windows machine. There are primarily two types of installations
Using Command Line Instructions
Here we are going to cover how to setup Rails on a Windows machine using Ruby, Ruby Gems and Rails.
Installing GIT
Installing Git on Windows is very simple. Simply download the installer (.exe) file from the GitHub<ref name='git'>Git Download</ref> page, and run it.
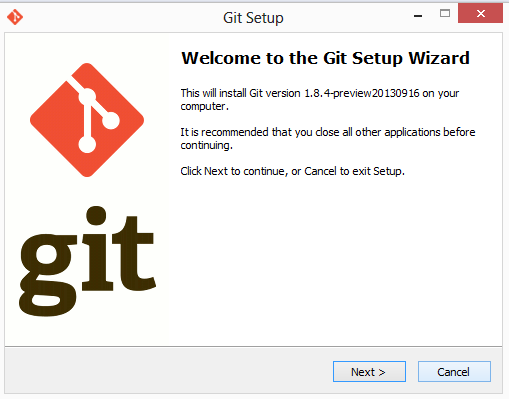
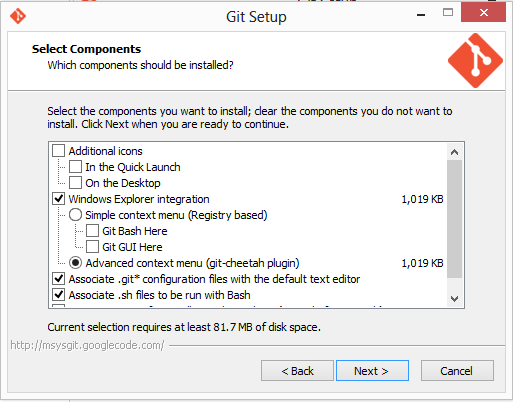
After it’s installed, you have both a command-line version (including an SSH client) and the standard GUI.
Ruby Installation:
Download and install the latest final version of the Ruby installer (currently 1.8.6) from http://rubyforge.org/ .
Continue with the installations with all the default settings. Make sure that Ruby is installed in a path which doesn’t contain any spaces. The default path selected by the installation wizard is c: //Ruby
Check Installation
Once the installation is complete check that all the ruby commands are added to the file path. Open the command prompt and type
C:/> ruby –v
The above instruction will display the version of ruby installed.
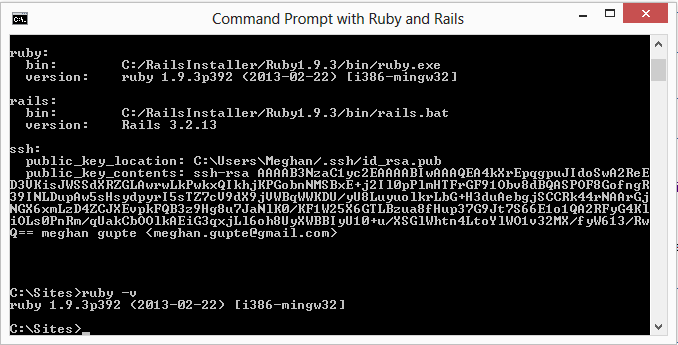
C:/> gem –v
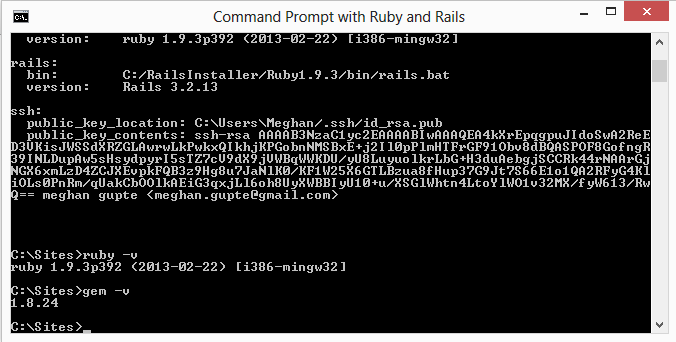
The above instruction will display the version of gem installed.
If you get the “not recognized as an internal or external command” error, then set the path to the ruby bin directory (e.g. c:\ruby\bin) and try again.
Update RubyGems
The above installer also installs RubyGems package and SciTE editor as part of the installation process. But, the installed version of RubyGems may be a bit old(~0.9.4), so we need to update it to the latest available version.
C:\> gem update ––system

C:\> gem –v The lasts updated version will be displayed.
Installing Rails
Once Ruby and RubyGems have been installed run the following command on the command prompt to install Ruby on Rails and all its dependencies.
C:\> gem install rails - -include-dependencies

C:\> rails -v
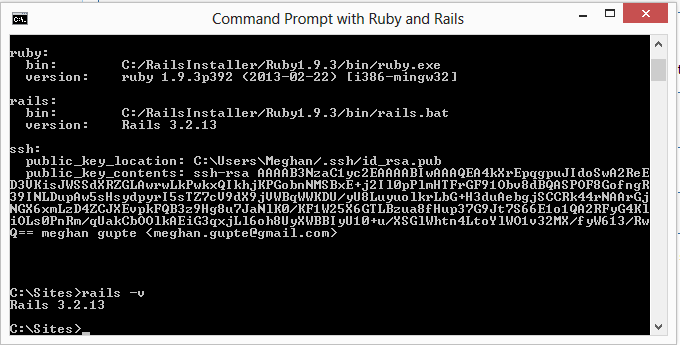
If you want to update the version of Rails, just run the following commands
C:\> gem update rails
The simple Rails development environment is now installed on the System with WEBrick as the web server, SQLite as the database server.
Using Windows Rails Installer
1. Go to Rails Installer and download the Rails Installer executable.
http://railsinstaller.org/en
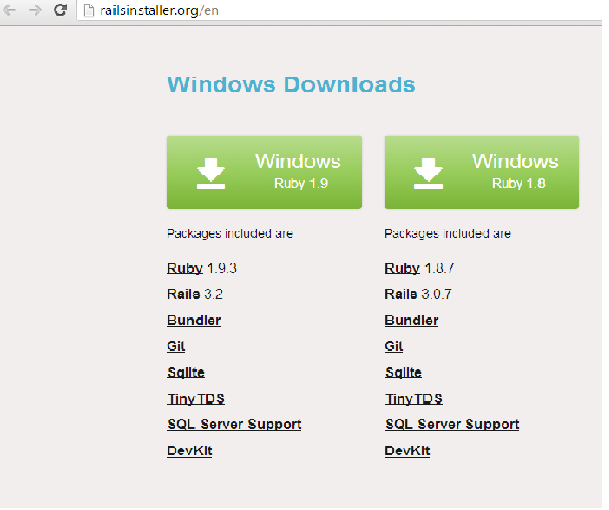
2. Double-click the executable and follow the instructions to install Git, Ruby, RubyGems, and Rails itself.

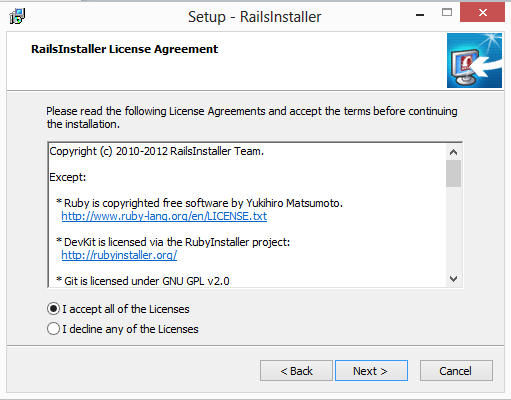

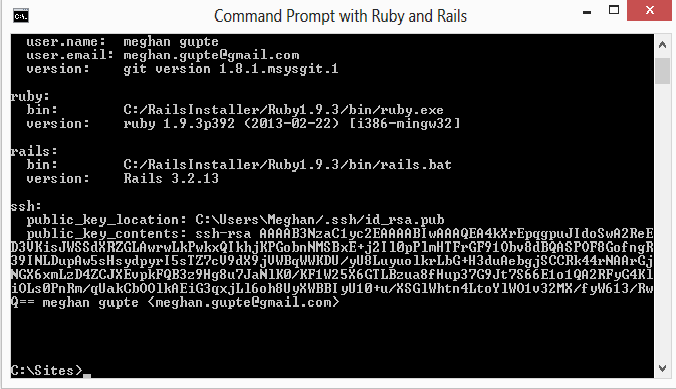
3. Once the installation is done, the environment is set up and ready for the first application.
See Also
Rails installation problem on Linux
Rails installation problem on Mac OSX
Ruby on Rails Tutorial-Learn Rails by Example by Michael Hartl
References:
<references/>