CSC/ECE 517 Fall 2011/ch4 4e ar
Lecture 10
Model, View and Controller
Model
Definition: The model represents all the data in the application.
A model is typically mapped to a table in the database. It maintains the state of an application and responds to changes to alter it. The model provides the developer with a consistent interface to handle and manipulate the data in an application. It hides a object-relation-mapping underneath, allowing the application to be portable to various database management systems. The model also validates the data before storing it. The code for a model can be found in the apps/models directory of a rails project.
View
Definition: A view renders the model in a form suitable for the user to comprehend.
A view queries the model to obtain data and generates an interface to display it. Typically, the controller instructs a view to render itself. However, in some cases, the view is automatically notified by the model of changes in state. The view can render itself to the user in many ways, HTML, CSS, XML, Javascript, JSON are the common ones. The code for the views can be found in the app/views directory of a rails project.
Controller
Definition: A controller accepts input from the user and instructs the rest of the framework to respond to it.
Typically, the user input is modeled as an event and the controller converts it to a user action, understandable by the model. Based on the input, it also decides which views to render. The controller is also responsible for a number of auxiliary services like session management, caching and helper modules. Code for a controller can be found in the app/controllers/ directory of a rails project.
A Rails Project
- RubyMine is an IDE for Ruby. We will be developing out rails project using it.
Start a rails project
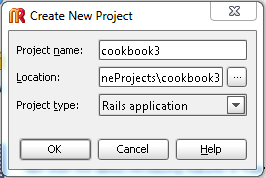
- To start a new rails project, click on the "New Project” link or select it from File Menu.
- Enter the project name, location and its type. In this case, it is a 'Rails application'.
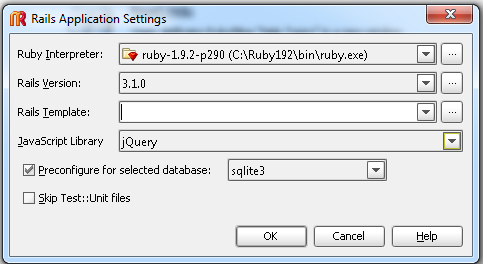
- Select the ruby interpreter you want to use.
- Select the rails version. There are significant differences among different rails version, so it is important to select the correct version.
- Select a JavaScript library for your views.
- Rails can work with a variety of databases like SQLite, MySQL, PostgreSQL. Select the one that you want from the drop down menu. We use SQLite3 for this project
- Click Ok to finish your initial project configuration
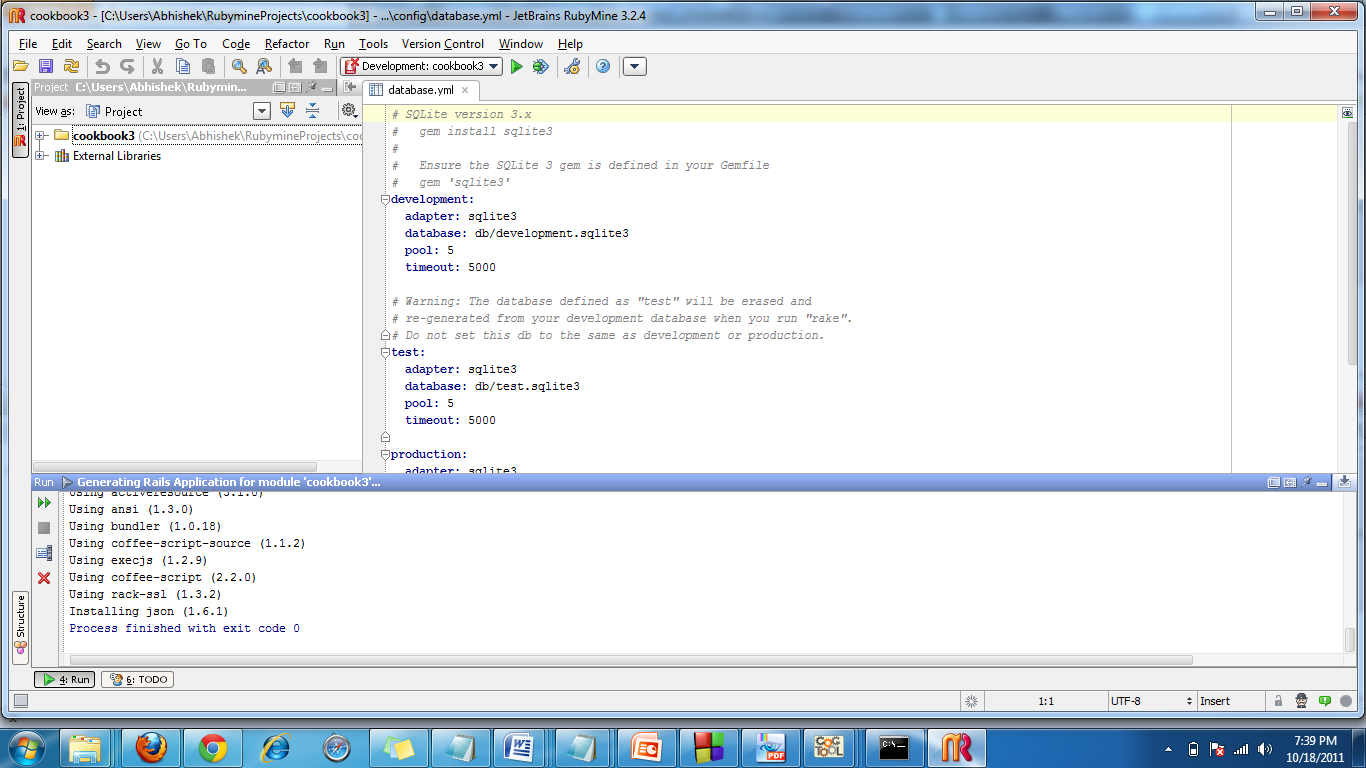
- You can see Ruby Mine executes a command for you. If the projects gets successfully created then you will see “Process finished with exit code 0”.
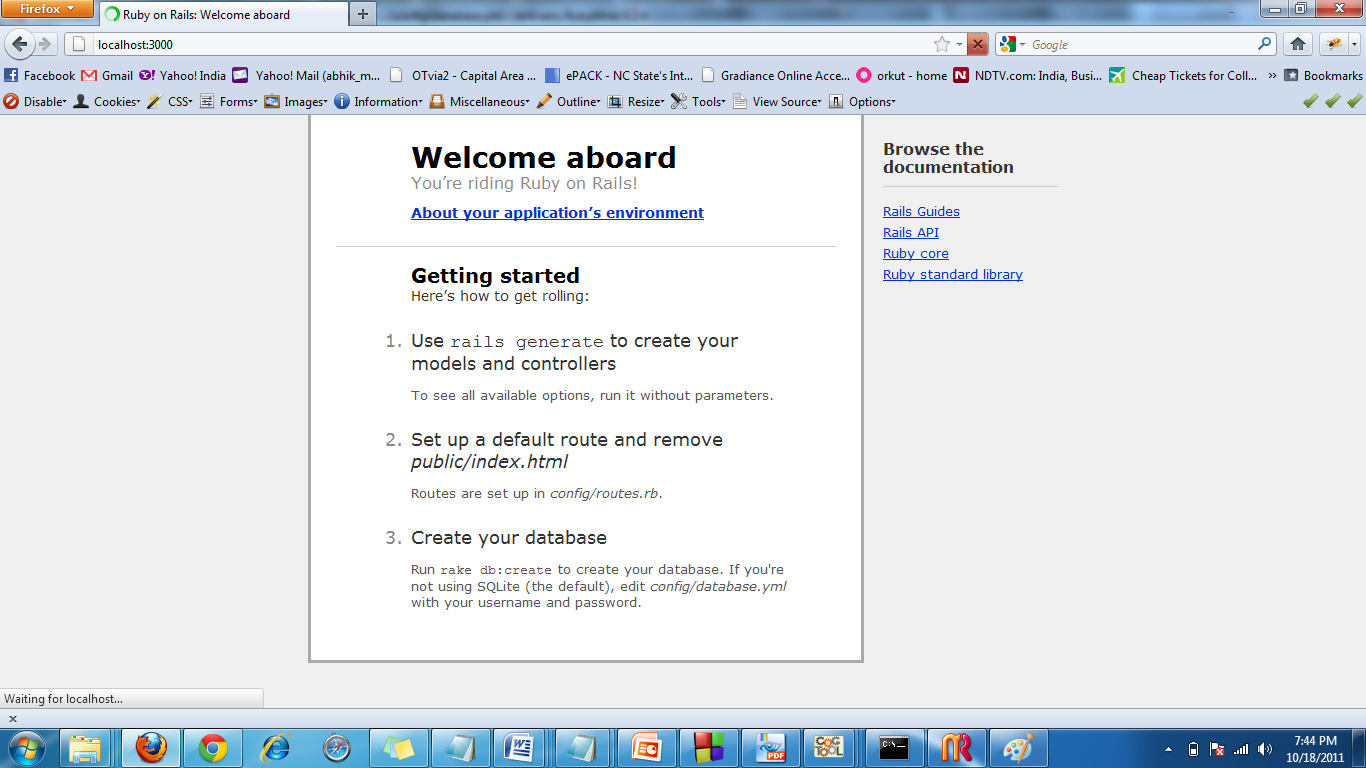
- Once the project gets created it is important to test if your project is running. To do this, start the server by pressing the green button on the top. On doing so, you should see a welcome screen if the server was started successfully.
Use scaffolds to build
- Now generate the other components of the project. This is done using scaffolds.
- 'Scaffolding' is rails way to models, views, and controllers for a new resource in a single operation.
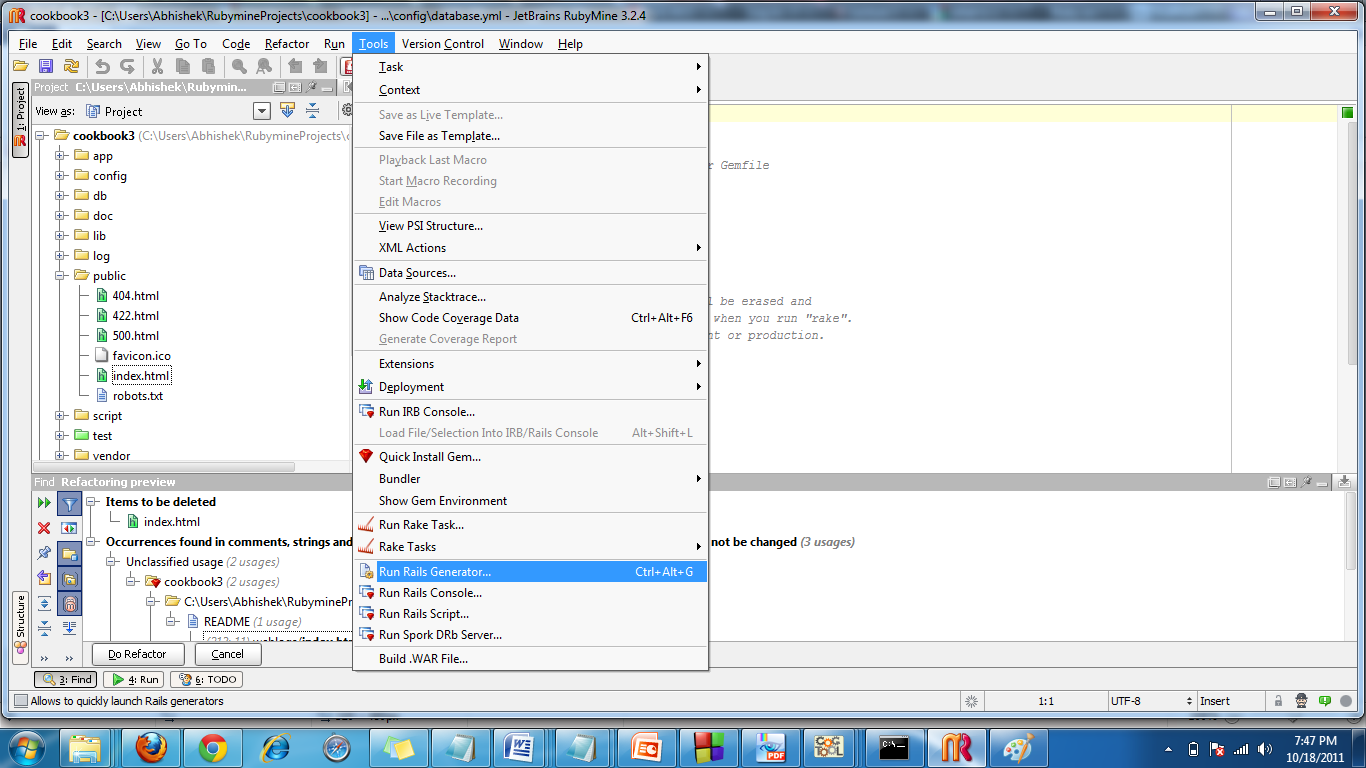
- To generate a scaffold, go to “Tools” and use “Run Rails Generator”. You will be prompted with what type of generator you want.
- Type Scaffold and press enter.
- Enter the scaffold name and the attributes along with their data types. Scaffold name should be singular.
- Attributes and data types are inserted as <Atrribute_name>:. Multiple attributes must be comma separated.
- Scaffolding provides the application developer with a template that has some of the common operations implemented. The developers needs to extend the scaffold by adding functionality required by that specific application
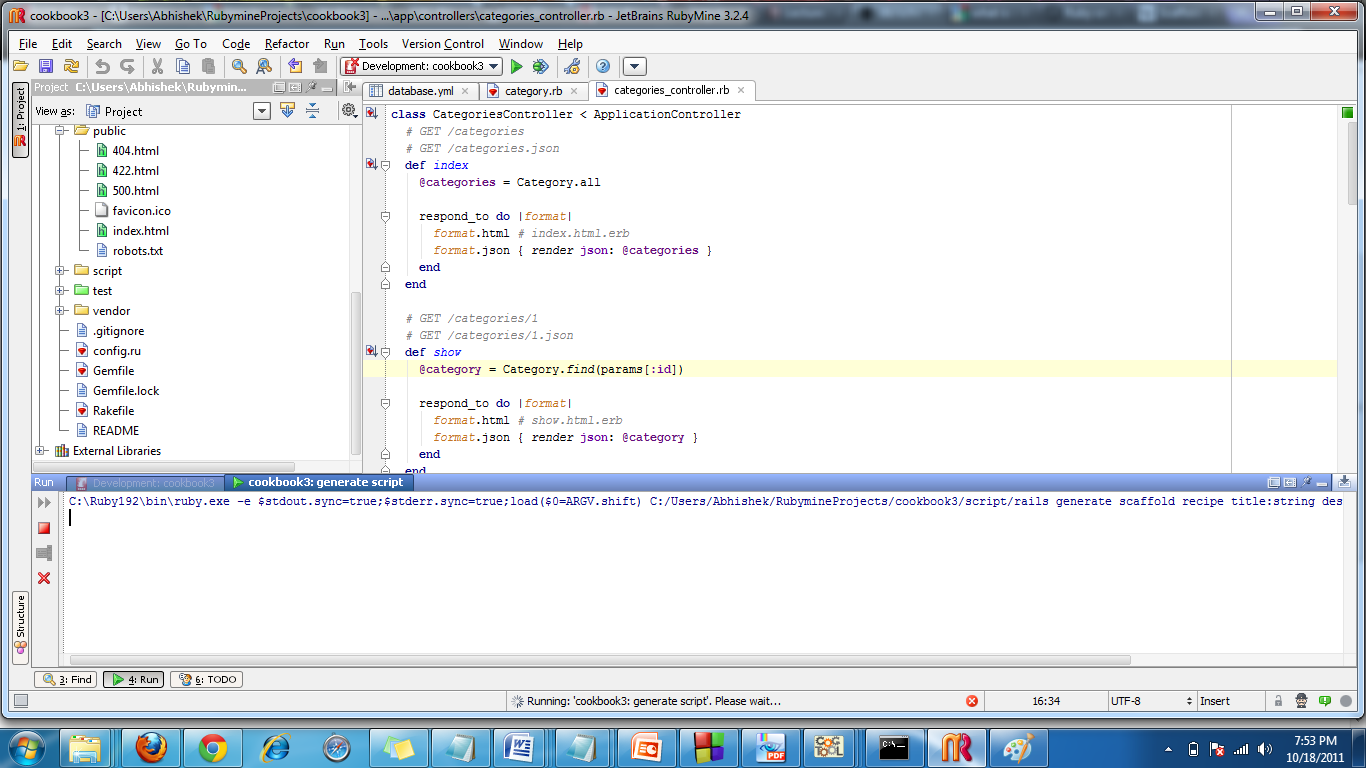
- For this project, we have created a scaffold for the 'category' resource. The image below shows some of the methods generated by scaffolding in the controller for category.
