CSC/ECE 517 Fall 2010/ch1 S10 MS: Difference between revisions
No edit summary |
No edit summary |
||
| Line 19: | Line 19: | ||
=='''Tk'''== | =='''Tk'''== | ||
Tk, which is a standard and [http://en.wikipedia.org/wiki/Cross-platform cross platform] GUI for ruby was used to develop desktop apps. It is generally installed by the Ruby Installer itself and has a complete documented | Tk, which is a standard and [http://en.wikipedia.org/wiki/Cross-platform cross platform] GUI for ruby was used to develop desktop apps. It is generally installed by the Ruby Installer itself and has a complete documented API. It is relatively old, does not care about appearances and is suitable only for simple GUI applications. But it is perfectly functional and is also easily available. It was not well documented and was not object oriented. | ||
==='''Sample HelloWorld Program using Tk'''=== | ==='''Sample HelloWorld Program using Tk'''=== | ||
| Line 27: | Line 27: | ||
Tk.mainloop | Tk.mainloop | ||
It is mandatory to instruct Ruby that it should "require tk" and "Tk.mainloop",which is the [ | It is mandatory to instruct Ruby that it should "require tk" and "Tk.mainloop",which is the [http://en.wikipedia.org/wiki/Event_handler event handler], is needed to start the GUI. All subsequent widgets will be contained in the root if their parent class is not specified. | ||
[http://ruby.about.com/gi/o.htm?zi=1/XJ&zTi=1&sdn=ruby&cdn=compute&tm=113&f=10&tt=14&bt=0&bts=1&zu=http%3A//www.meshplex.org/wiki/Ruby/Basic_GUI[1]] | [http://ruby.about.com/gi/o.htm?zi=1/XJ&zTi=1&sdn=ruby&cdn=compute&tm=113&f=10&tt=14&bt=0&bts=1&zu=http%3A//www.meshplex.org/wiki/Ruby/Basic_GUI[1]] | ||
| Line 54: | Line 54: | ||
[http://ruby.about.com/gi/o.htm?zi=1/XJ&zTi=1&sdn=ruby&cdn=compute&tm=113&f=10&tt=14&bt=0&bts=1&zu=http%3A//www.meshplex.org/wiki/Ruby/Basic_GUI[2]] | [http://ruby.about.com/gi/o.htm?zi=1/XJ&zTi=1&sdn=ruby&cdn=compute&tm=113&f=10&tt=14&bt=0&bts=1&zu=http%3A//www.meshplex.org/wiki/Ruby/Basic_GUI[2]] | ||
This creates a window of the specified size with the title Hello World and embeds a widget - Label, with the text Hello World and the background in blue. The 'pack' is called the | This creates a window of the specified size with the title Hello World and embeds a widget - Label, with the text Hello World and the background in blue. The 'pack' is called the geometry manager and specifies the pixel co-ordinates along with the justification of the text inside. It usually takes hash arguments. | ||
[[Image:Label.jpg]] | [[Image:Label.jpg]] | ||
Revision as of 05:28, 7 September 2010
GUI Toolkit For Ruby
Introduction
GUI toolkit is a collection of set of API's which will produce graphical user interface (GUI) for the end users to interact with. Generally, this toolkit creates separate windows, each with one application that makes use of a particular widget. Ruby is an object oriented dynamically typed programming language. It is used extensively for developing web applications (mostly with Rails) and for utility scripting. Initially RUBY was not a well known language for developing desktop application GUIs as it did not have good GUI libraries. With developments in Shoes, wxRuby, FXRub etc which are ruby library for creating web like desktop applications, Ruby GUI started picking up and became increasingly popular. Shoe is the most popular among all of these. This article describes different types of ruby GUI toolkits, their uses and their pros and cons.
Ruby is a very useful language for writing end user application and most of the present day end user application makes use of GUI. The main advantage of Ruby is that it enables Rapid Application Development. Unlike the time consuming traditional programming languages where you code, compile and then test, Ruby scripts can be quickly and easily changed to try new ideas. This is a big advantage when developing GUI applications using Ruby. The user interface can be constructed incrementally, adding new elements and then re-running the program to see how the user interface has changed
Different Ruby GUI toolkits
Ruby does not have any real GUI System. The default GUI Toolkit used is Tk. Shoes is the most recent toolkit being used for Ruby. But the most advantageous among all is agreed to be wxRuby2.
Tk
Tk, which is a standard and cross platform GUI for ruby was used to develop desktop apps. It is generally installed by the Ruby Installer itself and has a complete documented API. It is relatively old, does not care about appearances and is suitable only for simple GUI applications. But it is perfectly functional and is also easily available. It was not well documented and was not object oriented.
Sample HelloWorld Program using Tk
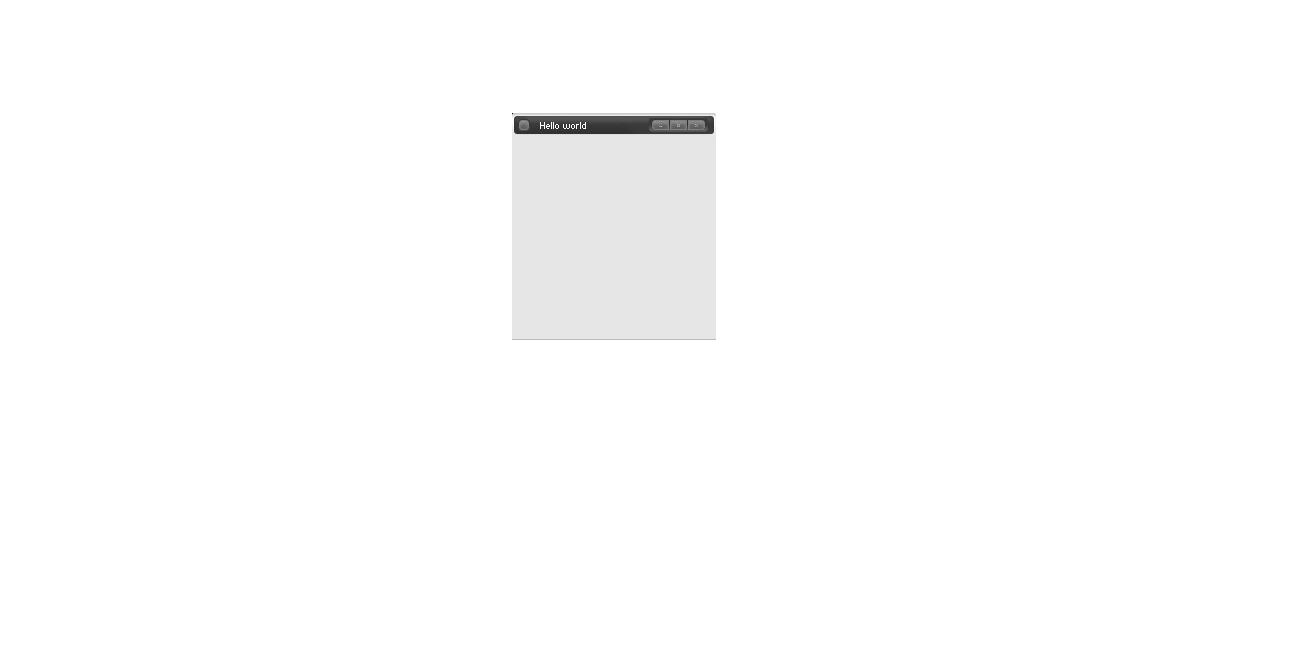
require 'tk'
msg = TkRoot.new { title “Hello World!” }
Tk.mainloop
It is mandatory to instruct Ruby that it should "require tk" and "Tk.mainloop",which is the event handler, is needed to start the GUI. All subsequent widgets will be contained in the root if their parent class is not specified.
[1]
Getting and Setting Options
To proceed to a more detailed application, let us look at the following code -
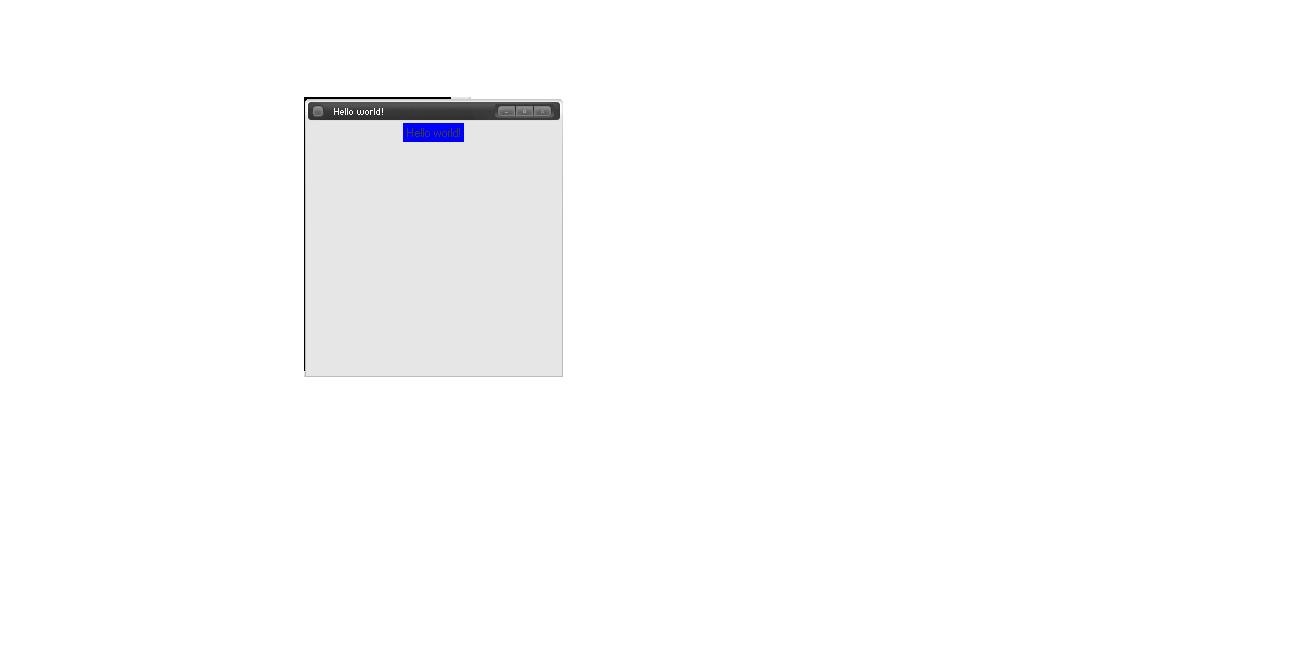
require 'tk'
root = TkRoot.new do title "Hello world!" minsize(250,250) end
l1 = TkLabel.new(root) do text 'Hello world!' background 'blue' pack { padx 15; pady 15; } end
Tk.mainloop
[2]
This creates a window of the specified size with the title Hello World and embeds a widget - Label, with the text Hello World and the background in blue. The 'pack' is called the geometry manager and specifies the pixel co-ordinates along with the justification of the text inside. It usually takes hash arguments.
It is also possible to change the setting of options dynamically.
Example -
command proc { ll.configure('text'=>"Bye Bye") }
The 'configure' method will change the text output to "Bye Bye" over writing "Hello World".
[3]
CallBack and Binding Variables
After we create a widget, it is necessary most of the time to get back data from it. This is done by using callback. Getting back data means to get back a '0' or '1' depending on whether the required application does what it is meant to do. Using callback, a proc Object is created which is called as soon as the callback starts.
Example -
TkLabel.new() { text "Hi"
command proc {l appcheck.value; exit }
}
The same thing is achieved by binding variables where a reference is created using TkVariable. This reference is then passed as an argument to the 'variable' option and output is obtained after the check.
appcheck = TkVariable.new
TkCheckButton.new() {
 variable mycheck
 }
This action of getting data can also be acheived dynamically using the cget(arg) method.
require 'tk' l = TkLabel.new {
 text     "Good Morning"
 color    "black"
} l.cget('text') » "Good Morning" l.cget('color') » "black"
[4]
Canvas
The Canvas widget is used to draw any picture you want by mere pressing of a button and the movement of the mouse in which ever direction you want to. Once the button is released, a Post Script, which is nothing but the image drawn, is displayed. It is generally used if you want to draw large size pictures like outline of a house, single line diagram of any instrument or just a random drawing.
Scrolling
This is generally used when a subset or a smaller portion of an image is needed to work with. In that case, we set up scrollbars for the required class. The movement of the scroll bar changes the widget view and vice versa. Hence, they are inter-dependent or bidirectional.
More information about Tk as GUI Toolkit and example programs can be found in the book [5]
FxRuby
This is another powerful GUI toolkit for Ruby that helps in developing user interfaces easily and effectively. It makes use of Free Objects for X (FOX) toolkit which is a C++ open source library. This uses the powerful features of Ruby at the same time takes benefits of functionality and performance of greatly optimized C++ toolkit. Unlike Tk, none of the Linux distributions include FOX as a standard installation package. A prerequisite for programming with FXRuby is to have a working FOX installation after which the FXRuby source code can be downloaded from the FXRuby home page, and build and install that extension module.
Sample HelloWorld Program using FxRuby
The hello.rb program can be used as an example for understanding the basics of FXRuby program.
- !/usr/bin/env ruby
require 'fox16'
include Fox
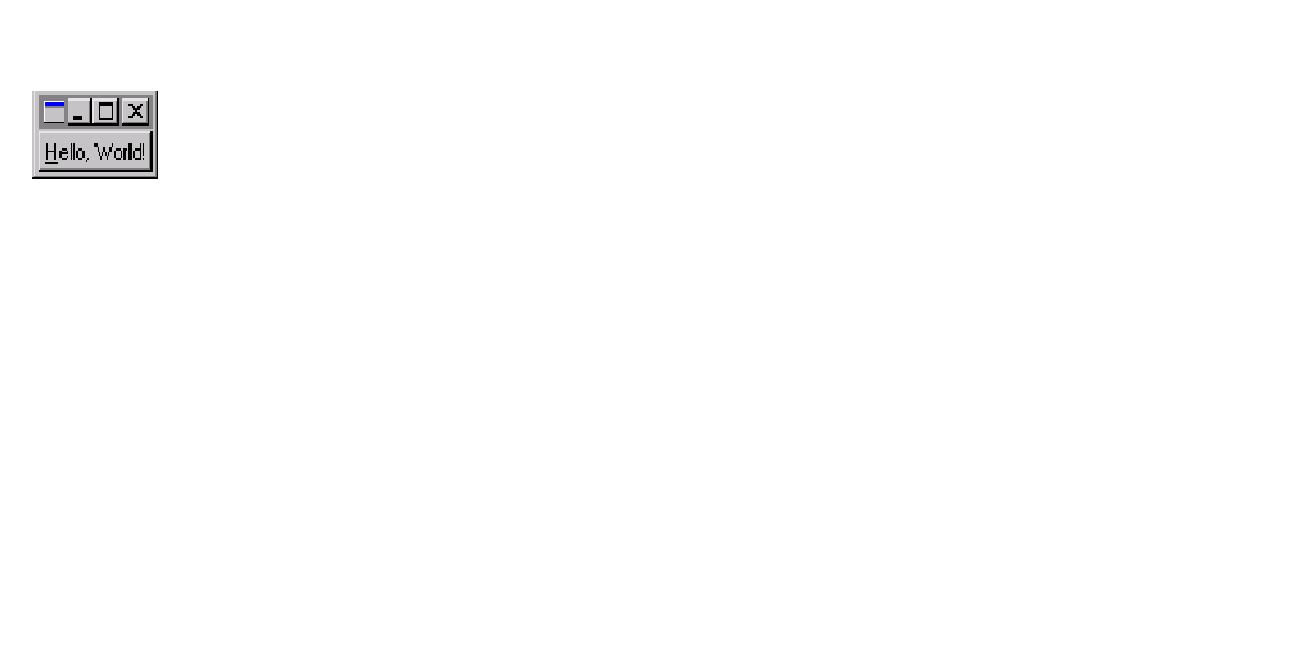
application = FXApp.new("Hello", "FoxTest") main = FXMainWindow.new(application, "Hello", nil, nil, DECOR_ALL) FXButton.new(main, "&Hello, World!", nil, application, FXApp::ID_QUIT) application.create() main.show(PLACEMENT_SCREEN) application.run()
Qt/Qt4
Qt is one of the leading cross-platform toolkits for creating web-enabled desktop, mobile and embedded GUI applications. It has Intuitive C++ class library. Web-enabled applications can be written once and deployed across desktop, mobile and embedded operating systems without rewriting the source code. It has high runtime performance with portability across desktop and embedded operating systems.
Sample HelloWorld Program using Qt
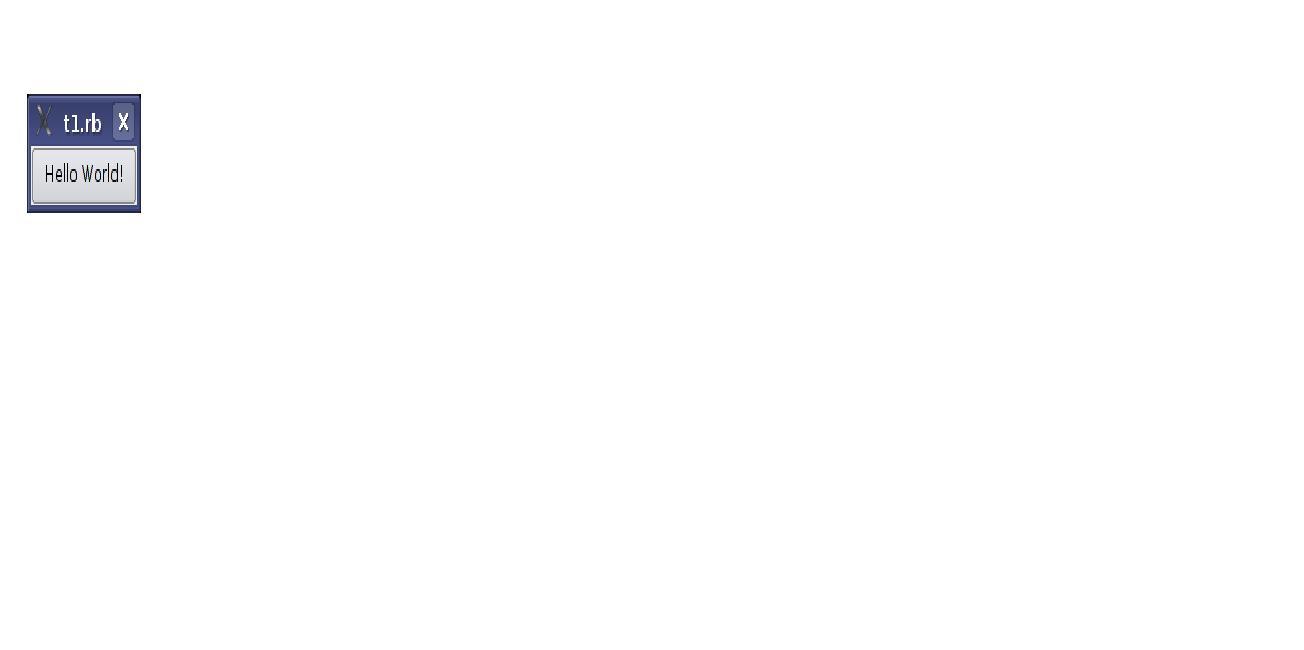
require 'Qt4'
app = Qt::Application.new(ARGV)
hello = Qt::PushButton.new('Hello World!') hello.resize(100, 30) hello.show()
app.exec()
WxRuby2
WxRuby is an open source GUI toolkit for Ruby programming language. It allows creating cross platform desktop applications. It makes use of the C++ WxWidgetswxWidgets GUI framework. WxWidgets is an open source cross platform library in C++ that aids in creating application for Windows, OS X, Linux and UNIX on 32-bit and 64-bit architectures. It binds languages like python, perl, ruby etc. It has several advantages over other ruby GUI toolkits. Being cross- platform , it has many advanced features with native look and feel. End users do not have to adjust to foreign interface. It is used by many users and actively developed with Unicode support
Sample HelloWorld Program using WxRuby2
require 'wx'
class MyApp < Wx::App
  def on_init
    @frame = Wx::Frame.new( nil, -1, "Application" )
    @frame.show
  end
end

app = MyApp.new
app.main_loop
'wx' module is required to load WxRuby library. The class containing all the WxRuby applications must be inherited from the Wx::App class. The on_init method is used to create any widget. The widget Frame here has three arguments (parent class, unique ID number, text to be displayed). The 'show' method has to be called for the Frame to be displayed.
[6]
Creating Menu
Wx::MenuBar object holds the menu and the Wx::Menu objects. Every menu option has a unique ID number assigned to it and its respective callback function is called every time that option is selected by the user.
Types of ID are -
Wx::ID_ANY -> This ID is used for dummy options when ID is not of significance. Wx::ID_EXIT -> Allows user to perform any operation on the Exit option. Wx::ID_LOWEST -> If any ID is lesser than the LOWEST, it creates no conflict with internal ID. Wx::ID_HIGHEST -> If any ID is higher than the HIGHEST, it creates no conflict with internal ID.
'append' -> It adds a menu item to the menu bar. Usually takes three arguments (ID, text to be displayed, keyboard shortcut, short
description (optional)) . The menu is appended by using two arguments (menu object, name of object)
Example -
Creating a Help Menu - help = Wx::Menu.new help.append( Wx::ID_ABOUT, "&About...\tF1", "Show about dialog" ) menu.append( help, "&Help" )
[7]
Adding Status Bar
Status Bar is used to display any description of the option over which the mouse moves. The Status Bar Object can be created and assigned using status_bar attribute. Hence, there is no need for any variable and it can be retrieved anytime. It is generally manipulated as a stack where the displayed message is pushed to the stack and once finished, it is popped out. Top-most is usually displayed and after pop, the original message becomes the top-most.
Example -
status = Wx::StatusBar.new(self) status.push_status_text "Status is shown here"
[8]
Arranging Widgets
It can be done either by absolute positioning or by using layout managers called sizers. In the former, size, position and shape of every widget needs to be defined individually and manually which has the following disadvantages -
1. Resizing becomes impossible 2. Adding Widgets is difficult 3. Difficult to change font size 4. Manual work out of size and shape of widget causing overlapping.
Hence, it is better to use sizers where any changes are automatically taken care of. Sizers are classified as Box and Grid. Use Wx::BoxSizer class for Box.
More information and example programs can be obtained from the tutorial [9]
Shoes
It is not designed for serious, large-scale GUI applications. Shoes applications usually tend to be small, useful and clever programs, which can be used for online or offline purposes. The application is very simple with a shallow learning curve. It is the quickest way to create a useful GUI , and it is intuitive to boot.
Sample Hello World Program using Shoes
Shoes.app :width => 250, :height => 100 do
  para "Hello World!"
end
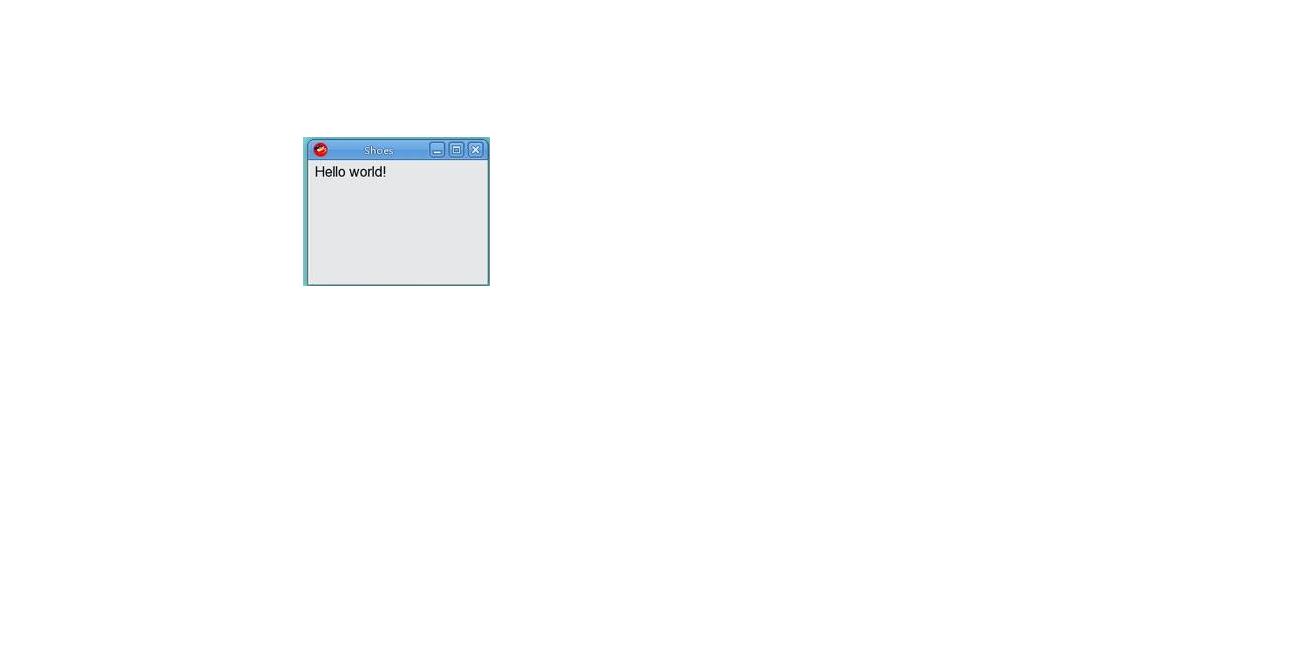
The Shoes.app is the method which encapsulates the entire application and it takes width and height, in pixels, as parameters. Inside this method, any options can be set. Here, 'para' is a text container used to display the text "Hello World". 'para' can also take multiple arguments. Formatting is possible by inserting the format operation even inside the 'para'. It is also possible to include other text containers such as 'title', 'subtitle', 'tagline', 'caption' etc.
[10]
Stack and Flow
Shoes implement what are called 'stack' and 'flow'. Stack, as the name suggests, is used to arrange the GUI tools vertically on top of each other and flow does the same thing, horizontally. It is possible to assign the width for flow. When the limit exceeds, i.e., during overflow, stack creates a scroll bar to move down but flow does not create one to move across. It is also possible to create a Flow of Stacks and a Stack of Flows. The width and height are then defined in terms of % of the portion each flow/stack will take up horizontally.
Example -
Shoes.app :width => 400, :height => 140 do
 flow :width => 250 do
 button "Button 1"
 button "Button 2"
 button "Button 3"
 end
Replace 'flow' by 'stack' to get the stack of buttons. By default, the arrangement of the tools is 'flow'.
[11]
Images can be displayed, resized, set as background using 'stack' and 'flow'. It is also possible to provide the URL and the corresponding image is placed in the window.
Example -
stack do
image 'lilies.jpg' image 'lilies.jpg', :width => '150%' 'background 'background.jpg # This has to be provided before all other statements. Otherwise, it overwrites them. end
[12]
Shoes has some advantages and disadvantages. It has good graphics, simple interface, and control at a lower level. It can be used to distribute redistributables, used to have examples available. Disadvantages are- maintainer AWOL, still rough around the edges since it attempts to support so many platforms. Lacks many of the more robust widgets common in other toolkit
More information and examples about using Shoes GUI Toolkit for Ruby can be found at [13]
Other Ruby GUI toolkits
GTK - Stable, Well Documented, used for Gnome problems. Requires hefty set of run time libraries.
FLTK - Ruby/FLTK is a Ruby binding for FLTK. Very fast and lightweight GUI toolkit. Can produce smallest binaries of all free toolkits here. But it is outdated and has unmaintained UTF8 patch and unicode patch.
Ruby-Cocoa bridge - This is an open source project that produces web applications with MAC look and feel by combining features of Ruby and objective C programming languages. But this is not widely used because \RubyCocoa applications are very slow due to the added overhead of object conversion.
Conclusion
References
External Links
[1] Hello World Window using Tk
[2] Hello World Label in Tk
[3] Dynamic getter and setter in Tk
[4] CallBack
[5] Programming in Ruby Tutorial
[6] Hello World Program using WxRuby
[7] Creating Menu using WxRuby
[8] Adding Status Bar using WxRuby
[9] WxRuby tutorial
[10] Hello World Program using Shoes
[11] Stack and Flow using Shoes
[12] Creating Images and Background using Shoes
[13] Shoes Tutorial
[14] ruby GUI toolkit
