CSC/ECE 517 Fall 2017/M1752 Implement the Microdata API: Difference between revisions
No edit summary |
No edit summary |
||
| Line 7: | Line 7: | ||
Here is a simple HTML block that has some information about a student. | Here is a simple HTML block that has some information about a student. | ||
<pre> | |||
My name is <span>Grad Student</span>, and I am a <span>student</span> at <span>NC State</span> | My name is <span>Grad Student</span>, and I am a <span>student</span> at <span>NC State</span> | ||
I live in <span><span>Raleigh</span>,<span>NC</span> </span> | I live in <span><span>Raleigh</span>,<span>NC</span> </span> | ||
</pre> | </pre> | ||
If a machine (web parses etc) were to read this block as it is, it would not be able to directly interpret what part of the sentence is a Name or an Address. | If a machine (web parses etc) were to read this block as it is, it would not be able to directly interpret what part of the sentence is a Name or an Address. | ||
Revision as of 19:38, 2 November 2017
Introduction
HTML Specification
The WHATWG Microdata HTML specification allows web data to be enriched in that it allows machines to learn more about the data in a web page. A typical example of real-world using of Microdata is illustrated below
Here is a simple HTML block that has some information about a student.
  My name is <span>Grad Student</span>, and I am a <span>student</span> at <span>NC State</span>
  I live in  <span><span>Raleigh</span>,<span>NC</span> </span>
If a machine (web parses etc) were to read this block as it is, it would not be able to directly interpret what part of the sentence is a Name or an Address.
This is where Microdata comes in. It defines attributes to different parts of the HTML block
Below is the same information with Microdata -
<div itemscope itemtype="http://data-vocabulary.org/Person">
  My name is <span itemprop="name">Grad Student</span>, and I am a <span itemprop="title">student</span> for
  <a href="http://net.tutsplus.com" itemprop="affliation">Nettuts+</a>.
  I live in
  <span itemprop="address" itemscope
    itemtype="http://data-vocabulary.org/Address">
    <span itemprop="locality">Louisville</span>,
    <span itemprop="region">KY</span>
  </span>
</div>
The attribute 'title' has been assigned to the word 'student'
The attribute 'locality' has been assigned to the state.
This way any machine that accesses this HTML can understand the content better.
More information about the Microdata specification is available here
Some popular websites like Google, Skype and Microsoft use the Microdata. The number of websites that use Microdata is growing; currently about 13% of websites use Microdata (statistics courtesy w3techs.com)
Servo
Servo is a modern, high-performance browser engine designed for both application and embedded use and written in the Rust programming language. It is currently developed on 64bit OS X, 64bit Linux, and Android.
Rust
Rust is a systems programming language focuses on memory safety and concurrency. It is similar to C++ but ensures memory safetely and high performance.
More information about the Rust programming language is available here
Scope
The scope of this project is to implement initial support for Microdata API specification by allowing the Servo engine to read Microdata API tags from web pages and interpret them in the DOM. This should lay a groundwork for future improvements to implement features to created vCard and JSON data from Microdata on the ServoShell. Additional project information is available here
Design
As for the initial stage of this project, the scope did not require any major changes to the engine design. We implemented a DOM method to handle appropriate attributes in the Microdata API. The below diagram shows an overview of components involved in the design. The highlighted blocks have been modified.
Build
We have opened our pull request and are working on getting it merged based on the reviews received. Please use our forked repository till the pull request is merged.
Forked repository: https://github.com/CJ8664/servo
Clone command using git:
git clone https://github.com/CJ8664/servo.git
Once you have the forked repo, please follow steps here to do a build.
Note that build may take up to 30 minutes, based on your system configuration. You can build on Janitor to reduce the build time.
Building on the cloud
This is the simplest and the fastest way to deploy and test an instance of servo. No configuration is required on your machine.
1. Go to http://janitor.technology
2. Click on 'New Container' for Servo
3. Enter your email address to gain access to your container
4. Once logged in, go 'Containers' on the top right.
5. You will now see a container - Click on the IDE button to open your online IDE environment.
6. Change directory to /home/user and create a new directory, say 'servo_test'
7. Go to this new directory and clone our repository as mentioned above
8. Upon cloning you should see a /servo directory within 'servo_test'
9. Go to /servo
10. It is now time to build - run the following command:
./mach build --dev
If all goes well you will see a success message - 'Build Completed'
Building locally
Local build instructions for various environments are available here
Verifying a build
We can quickly verify if the servo build is working by running the command
./mach run http://www.google.com
This will open a browser instance rendering the Google homepage.
This should be straightforward on any environment that has rendering support - Linus, Windows, MacOS, Android
If you are on Janitor environment, it's IDE will not provide rendering support. You might receive an error along the lines of 'No renderer found' upon executing the command.
Workaround: On the'Container' page on janitor.technology click on VNC for your container. Click 'Connect' on the new tab that opens up.
You should now have remote access to a UI with a command line. Simply run the above command and the webpage should render.
Implementation
The implementation involved updates to the Web Interface Definition Language (webidl) files and its Rust implementation.
HTMLElement.WebIDL
Path - /servo/components/script/dom/webidls/HTMLElement.WebIDLs
| Method Name | Return Type | Description |
|---|---|---|
| propertyNames() | String | Method definition only. The implementation is done in htmlelement.rs |
htmlelement.rs
Path - /servo/components/script/dom/htmlelement.rs
| Method Name | Return Type | Description | Location |
|---|---|---|---|
| parse_plain_attributes() | AttrValue | This method returns a value of an attribute associated to an the HTML Element. | traits Virtual_Methods |
| propertyNames() | Option<Vec<DOMString>> | This method parses the space-separated values of the 'item-type' attributes' | struct HTMLElement |
Configuration
The preference [Pref="dom.microdata.testing.enabled"] was added to resources.pref preferences list to toggle the experimental microdata methods during development.
Test Plan
Testing Approach
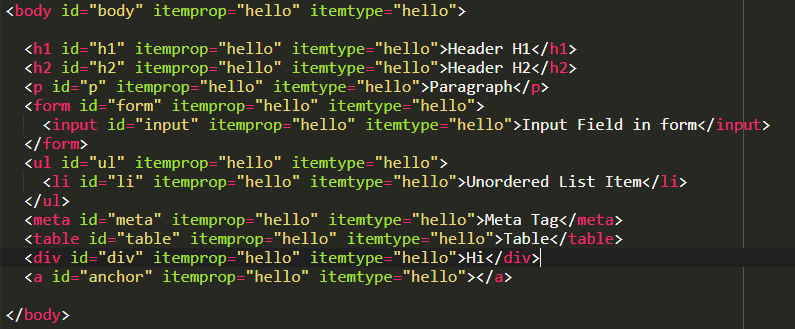
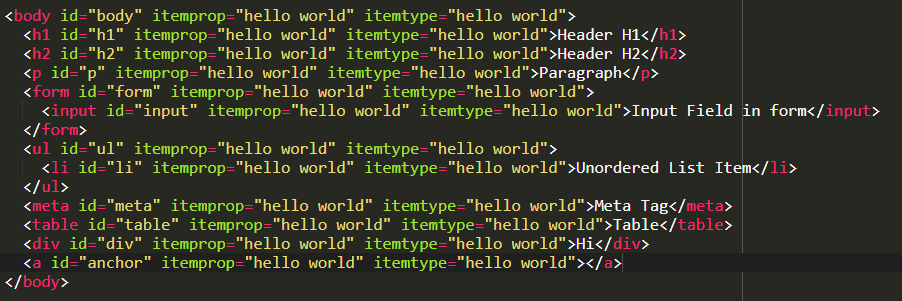
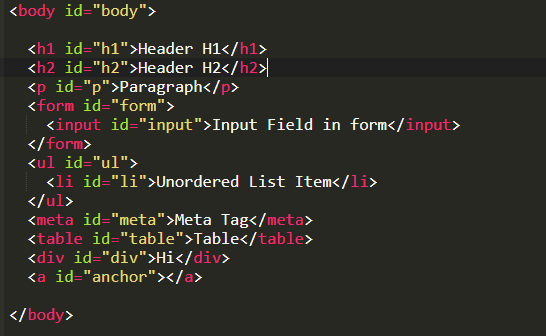
Since our implementation adds the Microdata tags into the DOM, the approach used for testing is to directly query the DOM tree using JavaScript to detect the presence of Microdata in an HTML tag within the DOM. This will confirm if the engine was able to parse these tags and add them to the DOM. Also, as per the microdata specifications, the tags can be contained in any HTML tag. Therefore, the test data consists of several HTML tags like 'div', 'ul', 'li', 'span' etc. each with a microdata ('itemprop' and 'itemtype') attribute.
Test Framework
We have used the 'web-platform-tests' (WPT) suite for testing. It is an existing test suite used in the Servo project. It generally consists of two test types: JavaScript tests (to test DOM features, for example) written using the testharness.js library and reference tests (to test rendered output with what's expected to ensure that the rendering is done properly) written using the W3C reftest format. Since the microdata tags do not render anything on the page, only DOM testing is in scope.
testharness.js has been used to write the tests; it complements our testing approach as it can be called directly via JS within an HTML page. It provides a convenient API for making common assertions, and to work both for testing synchronous and asynchronous DOM features in a way that promotes clear, robust, tests.
testharness.js returns the result of the test directly from the html page which is then used by WPT to interpret the result of the test.
Test Cases
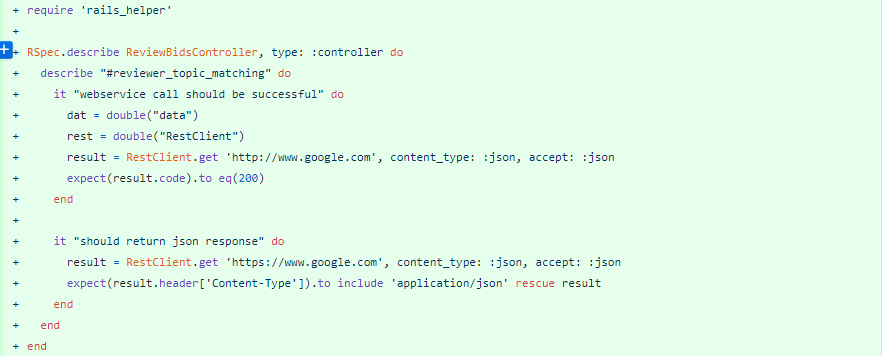
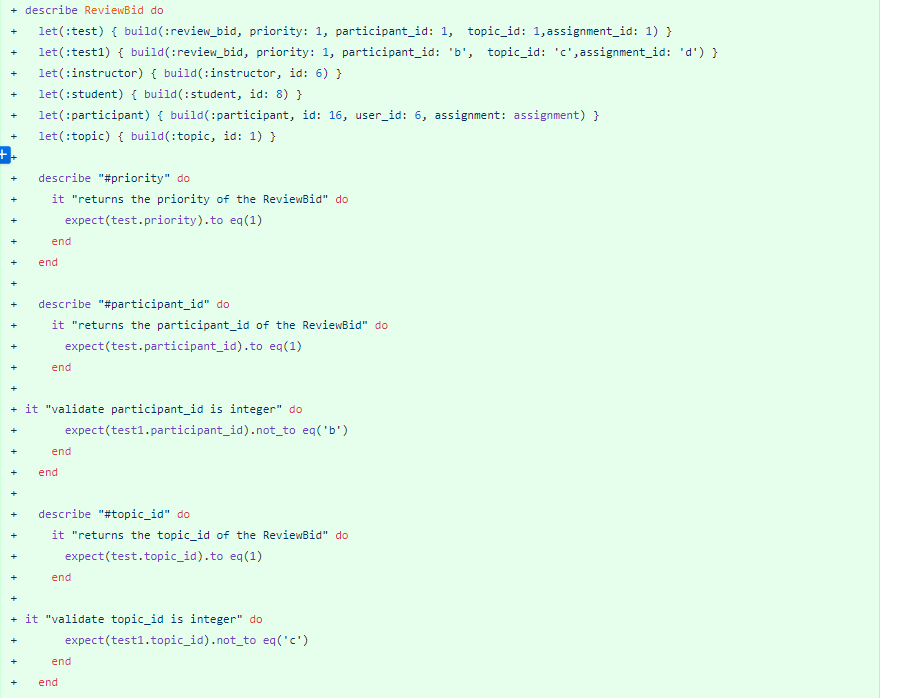
In order to test our implementation, the following scenarios have been evaluated.
Attribute with a single value should be stored properly
Input Data
Expected Result
Space separated values in the attributes should be stored as different values
Input Data
Expected Result
Duplicate occurrence of attributes should be ignored
Input Data
Expected Result
Extra whitespace in the attribute list should be ignored
Input Data
Expected Result
Attribute has not been set (null or empty)
Input Data
Expected Result
Testing Steps
Please read and perform the actions on the Build and Verification sections properly before testing.
1) Run the command ./mach tests-wpt /tests/wpt/mozilla/tests/mozilla/microdata/
2) A webpage should render showing the status of the test.
Here is the output of test-wpt after the tests have been run successfully.
Dependencies
html5ever - HTML attribute names are fetched in Servo from a lookup file in the html5ever module. The html5ever module was augmented with the 'itemprop' and 'itemtype' attributes for use in Servo.
Pull Request
The pull request used to incorporate our changes upstream is available here
References
http://html5doctor.com/microdata/
http://web-platform-tests.org/writing-tests/testharness-api.html
https://html.spec.whatwg.org/multipage/microdata.html
https://code.tutsplus.com/tutorials/html5-microdata-welcome-to-the-machine--net-12356

