CSC/ECE 517 Spring 2019 - Project M1901 Implement missing WebAudio automation support
Introduction
Servo
Servo is an developmental browser engine designed to make use of the memory safety properties and concurrency features of the Rust programming language. The project was initiated by Mozilla Research with effort from Samsung to port it to Android and ARM processors
More information about Servo is available here
Rust
Rust is a systems programming language which focuses on memory safety and concurrency. It is similar to C++ but ensures memory safety and provides high performance. Rust is brain child of Mozilla and simple as this
fn main() {
    println!("Hello World");
}
More information about Rust can be found here and here is why we love Rust, SF Loved
Web Audio API
The Web Audio API involves handling audio operations inside an audio context, and has been designed to allow modular routing. An audio routing graph has been created by linking together the Basic Audio operations performed with audio nodes. Several sources — with different types of channel layout — are supported even within a single context. This modular design provides the flexibility to create complex audio functions with dynamic effects.
Audio nodes are linked into chains and simple webs by their inputs and outputs. They typically start with one or more sources. Sources provide arrays of sound intensities (samples) at very small timeslices, often tens of thousands of them per second. These could be either computed mathematically (such as OscillatorNode), or they can be recordings from sound/video files (like AudioBufferSourceNode and MediaElementAudioSourceNode) and audio streams (MediaStreamAudioSourceNode). In fact, sound files are just recordings of sound intensities themselves, which come in from microphones or electric instruments, and get mixed down into a single, complicated wave.
Outputs of these nodes could be linked to inputs of others, which mix or modify these streams of sound samples into different streams. A common modification is multiplying the samples by a value to make them louder or quieter (as is the case with GainNode). Once the sound has been sufficiently processed for the intended effect, it can be linked to the input of a destination (AudioContext.destination), which sends the sound to the speakers or headphones. This last connection is only necessary if the user is supposed to hear the audio.
A simple, typical workflow for web audio would look something like this:
1. Create audio context
2. Inside the context, create sources — such as <audio>, oscillator, stream
3. Create effects nodes, such as reverb, biquad filter, panner, compressor
4. Choose final destination of audio, for example your system speakers
5. Connect the sources up to the effects, and the effects to the destination.
Web Audio Automation
AudioParam is used to control the AudioNode functioning, say, Volume (a Gain parameter). These values can either be scheduled to be changed at precise times or set to particular value immediately following an event or at an event. The schedule to change when used with AudioContext.currentTime can helps in volume fades, filter sweeps etc. This would work aims to implement SetValueCurveAtTime().
setValueCurveAtTime() is one such method in AudioParam that takes an array as input and schedules a change. The array is usually a curve in wedAudio and achieved my linear interpolation between the values from the floating-point values array and for the duration, d from the startTime, s
v(t) = values[N * (t - s) / d], where N is the length of the values in the array.
And after the end of the curve time interval (t >= s + d), the value will remain constant at the final curve value. This would persist to happen until the next automation event.
One of the application of setValueCurveAtTime() it to create tremolo effect. Suppose linear nor an exponential curve satisfy the needs then user can create curve based on values to setValueCurveAtTime() with an array of timing values. Its a much loved approached against multiple calls to setValueAtTime().
AutomationEvent::SetValueCurveAtTime(val,start_time,duration)=>{
	 let progress =(current_tick - event_start_time).0 as f32
	 let k=(val.len()-1/duration)*progress
         //v[t] is computed by interpolating between V[k] and V[k+1]

}
Build
Servo is built with Cargo, the Rust package manager. We also use Mozilla's Mach tools to orchestrate the build and other tasks.
The Work
Code
The code is implemented as in here. The code is so far a test code and the println statements that appears in the code base is not a production level code. Its appears for the peer reviewers test purpose.
            AutomationEvent::SetValueCurveAtTime(ref values, start, duration) => {

                println!("The value of duration is: {:?}",duration);
                let progress =
                  ((current_tick.0 as f32) - (start.0 as f32)) as f32;
                let time_diff = ((duration.0 as f32) - (start.0 as f32)) as f32;
                  println!("The difference in time values is: (Current_tick - start) {}", (current_tick.0 as f32) - (start.0 as f32));
                  println!("Duration Time value: {}", time_diff as f32);
                let n = values.len() as f32;
	            let k = ((n as f32 - 1.0)/time_diff as f32) * progress as f32;
                println!("Start Time value: {}",start.0 as f32);
                println!("Current time value: {}",current_tick.0 as f32);
                //Get the expected time values for the values[k] and values[k+1]
                //and storing them in time_k and time_k_next
                //k = k%8.0 as f32;
                let time_k = (k * duration.0 as f32) / (n as f32);
                let time_k_next = ((k + 1.0) * duration.0 as f32)/ (n as f32);
				println!("The value of k is: {:?}",k);
                println!("The value of time for v_k is: {:?}",time_k);
                println!("The value of time for v_k_next is: {:?}",time_k_next);
				let mut v_k =0.0;
                let mut v_k_next =0.0;
				if k+1.0<n&&k>=0.0
				{
				v_k=values[k as usize];
				v_k_next=values[(k+1.0) as usize];
				}
                println!("The value of v_k is: {:?}",v_k);
                println!("The value of v_k_next is: {:?}",v_k_next);
				//println!("{}",k);
                //Getting expected value after interpolating between valies[k] and values[k+1]
                if (v_k_next - v_k).abs() != 0.
                {
                    let temp_val = (v_k * (time_k_next - (current_tick.0 as f32)) + v_k_next * ((current_tick.0 as f32) - time_k)) / (v_k_next - v_k).abs() as f32;
                    *value = temp_val as f32;
                }
                else
                {
                    let temp_val = 1 as f32;//*value = 1.0;
                    *value = temp_val as f32;
                }

                println!("Value of the Automation Value is: {}\n", *value);
Lets walk through the code if you're a Rust beginner probably things might take it easier.
AutomationEvent::SetValueCurveAtTime() is a fn and takes three arguments: values, start, duration.
The println statement appears in the following line is a just statement that we made in debugging since Rust is a compiled language it makes debugging especially harder. So this statement check if the duration passed. This might not follow "Magic Tricks of Testing", sorry! Let Ruby and Rust be alone.
progress, computes the difference between the first value in start_time and time and makes explicit conversion to f32.
time_diff computes the total difference between duration and start_time, this is required when the values that needs to be computed goes beyond time_diff from start_time to set a constant value later.
println and println.... More debugging!
                let time_k = (k * duration.0 as f32) / (n as f32);
                let time_k_next = ((k + 1.0) * duration.0 as f32)/ (n as f32);
k value is computed next where its performed by following this and then time_k and (k+1) referred as time_k_next is simply best described as interpolation between the values [k] and [k+1].
let mut v_k =0.0;
let mut v_k_next =0.0;
Change or mutate v_k and v_k_next to 0 for debugging.
				if k+1.0<n&&k>=0.0
				{
				v_k=values[k as usize];
				v_k_next=values[(k+1.0) as usize];
				}
This code block tests whether the range inferred is lesser than the supplied values, v in the function argument as well as k is above 0 and assigned the values for v_k and v_k_next from the values array.
                println!("The value of v_k is: {:?}",v_k);
                println!("The value of v_k_next is: {:?}",v_k_next);
Debugging block.
                if (v_k_next - v_k).abs() != 0.
                {
                    let temp_val = (v_k * (time_k_next - (current_tick.0 as f32)) + v_k_next * ((current_tick.0 as f32) - time_k)) / (v_k_next - v_k).abs() as f32;
                    *value = temp_val as f32;
                }
                else
                {
                    let temp_val = 1 as f32;//*value = 1.0;
                    *value = temp_val as f32;
                }
This block interpolates the delta values that would be added to generate the sound wave from the values array. Say, the frequency start at 44KHz and the delta (temp_value) would be used to change the frequency of the curve for the duration, d.
The else block represents that if the value exceeds the duration, d would instruct the value to be set to a constant, 1, usually.
Code instructs to cancel this event or end of this function and proceed to next instructions. In Audio API unless you explicitly say the block to end, the block would end and hardware device would be stopped from consumption.
Examples
Examples are unique aspect to Rust. This instructs that code to make use of the function we just wrote and generates a sound output. Refer our example here for the SetValueCurveAtTime()
And example is usually called by using cargo build in rust or cargo run.
Cargo.toml dictates the naming and the file to be called as.
cargo run --example set_value_curve
The above code instructs to run the example set_value_curve to generate a sound output through our terminal.
Compile
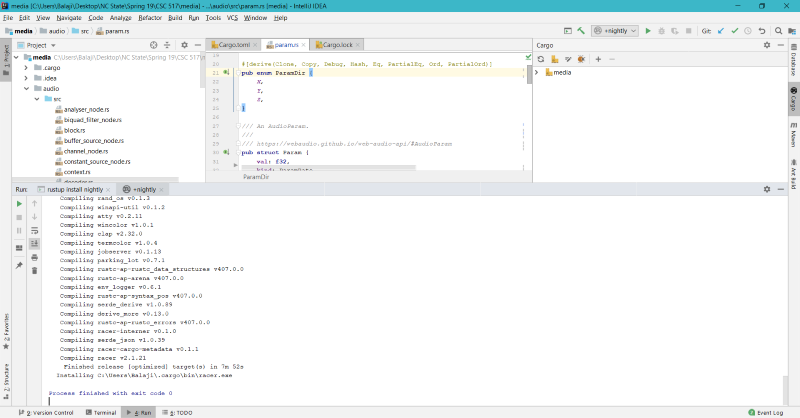
Cargo.lock instructs the dependencies that would be required to build this project.
Cargo.toml calls all the folders or members to be complied. Usually the compilation would be at /media
Cargo.lock installs number of packages called crates that would be used by the project to access the modules. Each of the member in Cargo.toml would have Carog.toml in them that would instruct dependencies during the build. build-dependencies would be used if you have dependencies before the build.
.cargo config is similar to a dotenv file for Rust
Test
If you would like to test our build please look into Fixes before proceeding. We would suggest MacOS or Linux 16.04 LTS for any development and testing. Virtual Machine or VirtualBox could be another option. We spent countless days in frustration with libraries and never ending apt installs so avoid Linux 18.04 for this build test. Only one of our team member who used MacOS were able to successfully build the servo/media successfully most times, the rest of two who are windows cmd/msys2 fanatics have a hard time at MSDN before they gave in to sudo.
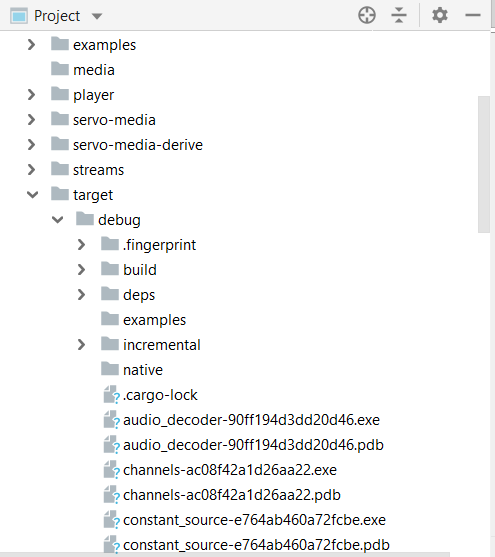
Once cargo build is completed. Open /target/debug to view the examples that are generated.
To run all examples after the cargo build is complete, use cargo run --example <bin_name>
Status of the Project
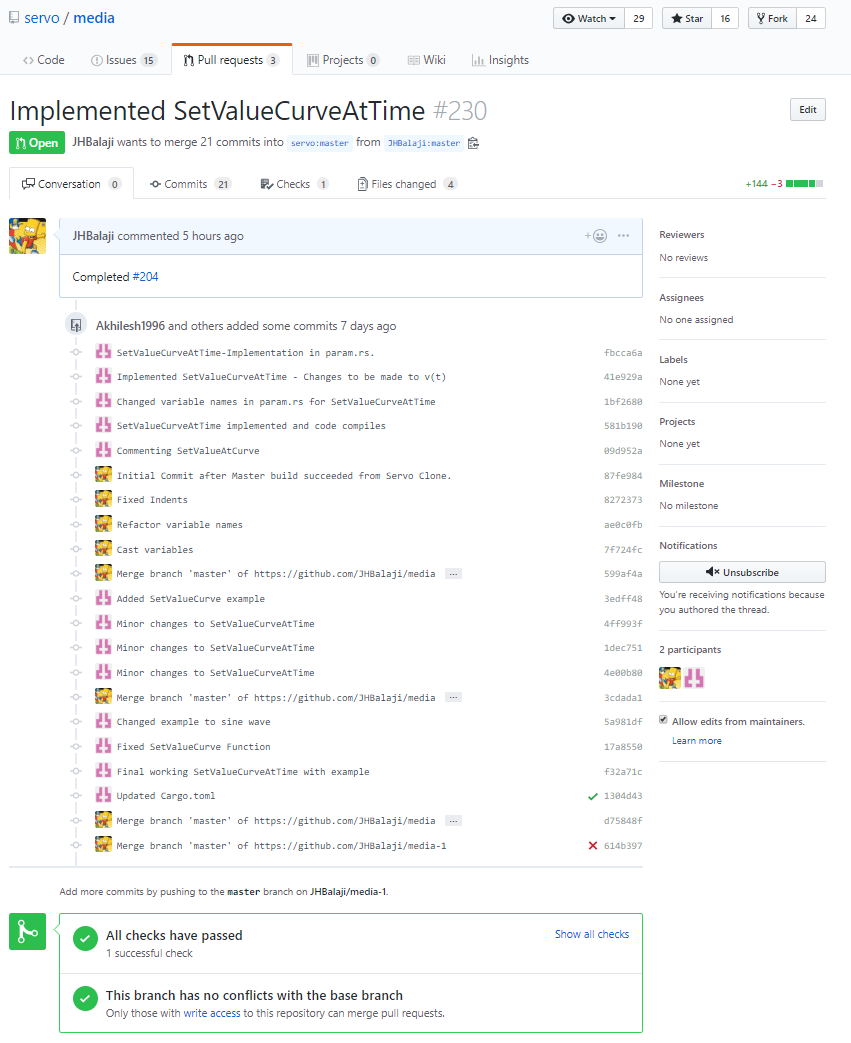
The build is ready but awaiting for expert review and example compile deemed to be valid.
Normal build from Master Repo
To build Servo in development mode. This is useful for development, but the resulting binary is very slow.
git clone https://github.com/servo/servo
cd servo
./mach build --dev
./mach run tests/html/about-mozilla.html
For benchmarking, performance testing, or real-world use, add the --release flag to create an optimized build:
./mach build --release
./mach run --release tests/html/about-mozilla.html
Running
Use ./mach run [url] to run Servo.
Commandline Arguments -p INTERVAL turns on the profiler and dumps info to the console every INTERVAL seconds -s SIZE sets the tile size for painting; defaults to 512 -z disables all graphical output; useful for running JS / layout tests
Servo Media
Requirements In order to build this crate you need to install gstreamer which can be found here [1]
Build
For macOS, Windows, and Linux, simply run:
cargo build
<references></references>
Running example video=
Issues and Fixes
Windows Specific during build


